
How to Add Waves to Your Wig | Daniel Alain
Divide the Hair Into Two Sections
To start, you'll want to divide your wig into two sections, one on each side of the wig's part. Waves are much looser and more casual than curls, so you don't need as many sections. However, you can split it into four sections if your wig has a lot of hair.
Start at the Bottom
Wrap your curling iron around the ends, going up only to about halfway. This will give you soft, romantic waves that start at the bottom and gradually loosen as they go up. The closer you are to the roots, the tighter the waves will be.
Hold each curl for no more than five seconds before you release. Any longer and you'll start to get curls instead of waves.
Curl In Both Directions
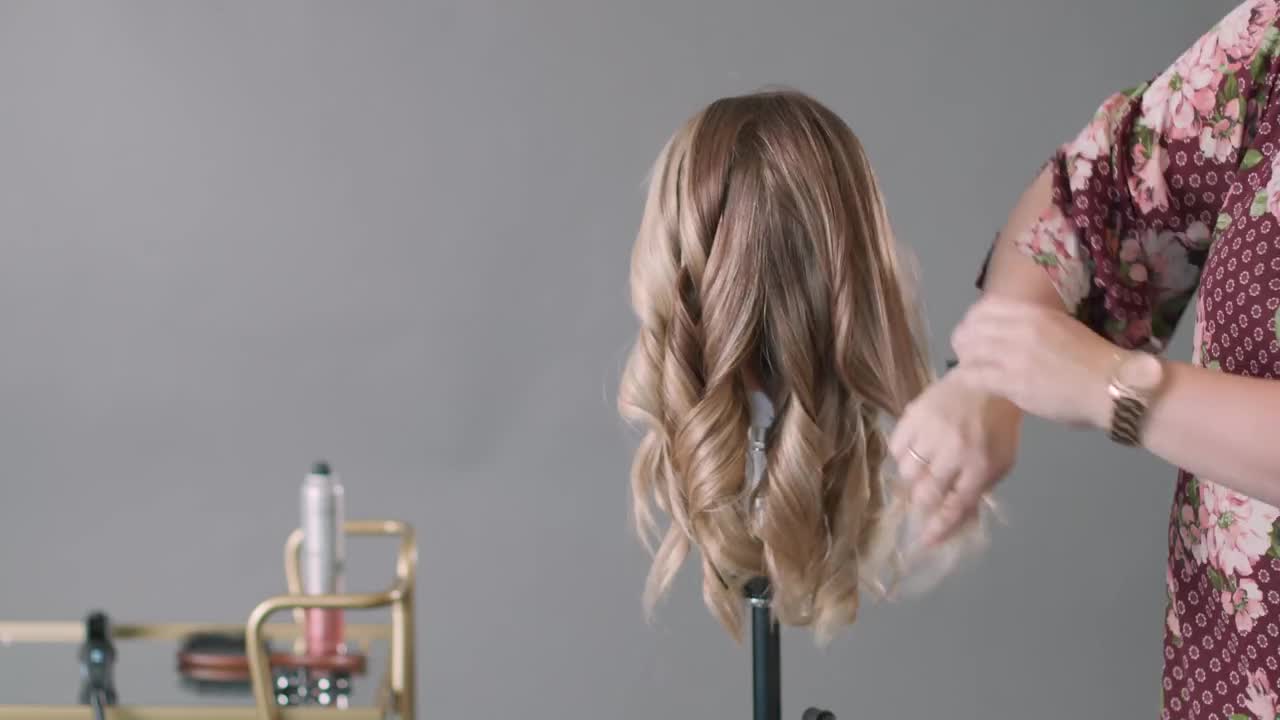
You'll want to curl your hair in both directions to get beachy, effortless-looking waves. Start by curling each section away from your face, then switch and curl them and hold them for a few seconds before release. This will result in that tousled, windswept look that's so popular in the summertime.
Run Your Fingers Through The Hair
Break up the curls even further by running your fingers through your hair after you've finished curling it. This will help to loosen the curls and make them appear even more natural.
Finish With Hairspray
As always, finish with a light layer of wig-friendly hairspray to help keep your style in place. You can also use a bit of sea salt spray to give your waves some extra texture and hold.
To start, you'll want to divide your wig into two sections, one on each side of the wig's part. Waves are much looser and more casual than curls, so you don't need as many sections. However, you can split it into four sections if your wig has a lot of hair.
Start at the Bottom
Wrap your curling iron around the ends, going up only to about halfway. This will give you soft, romantic waves that start at the bottom and gradually loosen as they go up. The closer you are to the roots, the tighter the waves will be.
Hold each curl for no more than five seconds before you release. Any longer and you'll start to get curls instead of waves.
Curl In Both Directions
You'll want to curl your hair in both directions to get beachy, effortless-looking waves. Start by curling each section away from your face, then switch and curl them and hold them for a few seconds before release. This will result in that tousled, windswept look that's so popular in the summertime.
Run Your Fingers Through The Hair
Break up the curls even further by running your fingers through your hair after you've finished curling it. This will help to loosen the curls and make them appear even more natural.
Finish With Hairspray
As always, finish with a light layer of wig-friendly hairspray to help keep your style in place. You can also use a bit of sea salt spray to give your waves some extra texture and hold.